Thursday 22 September 2011

At home soy candles


Inspired by the soy candle making day on Friday my sister in law and I made our own candles at home Friday night. We had rummaged through second hand stores finding tea cups and saucers, little parfait glasses, mini coffee sets etc for our candles and were really happy with the results. We purchased 3 kgs of the soy wax and had plenty left over for next time. The colours we used were honey and purple and we decided not to add any fragrance as they have their own lovely scent. From start to finish it took us about an hour. Unfortanately for my sister in law we had done so much shopping over the last two weeks she didn't have room in her bag to take them home. Lucky for me! Might give them to her for Christmas. Ha!

Saturday 17 September 2011

Soy Wax Candle Making

Yesterday Linda, her sister-in-law Tracey, Phillipa and I attended a soy wax candle making workshop at our local family community centre. Kym came along to play crèche nanny for us, which was super lovely of her. The course was run by another girl in our playgroup session, Kylie.
Jugs of wax waiting to be melted
The first thing we had to do was measure and melt our wax. This took AGES. Infact, the melting took probably as long as the rest of the process altogether.

Linda sticking her wick into her jar
The "first round" of candles we made were a gorgeous lidded jar and a maxi light (as opposed to a tea light.. it will apparently burn for around 12 hours).  While we waited for the wax to melt, Kylie showed us how to stick our wicks into our jars, and showed us our colour and fragrance options.
My prepared jars and my essential oil blend (from home)

Kylie demonstrating how to check the temperature
 There were two ways to add colour: liquid concentrate and solid colour blocks that you grate/shave in. Linda went with the liquid concentrate and boy was it concentrated! She used a single drop and she had the most gorgeous, vibrant magenta while Phillipa and I shaved a tiny amount of solid colour into ours and got lovely pastel shades. As for fragrance, Linda chose "Dragon's Blood", Phillipa used a combination of Citronella & Sweet Orange essential oils and I had brought an essential oil blend that my MIL makes called "Peace" which has Patchouli, Lime and Peru Balsam.
Phillipa's first candles

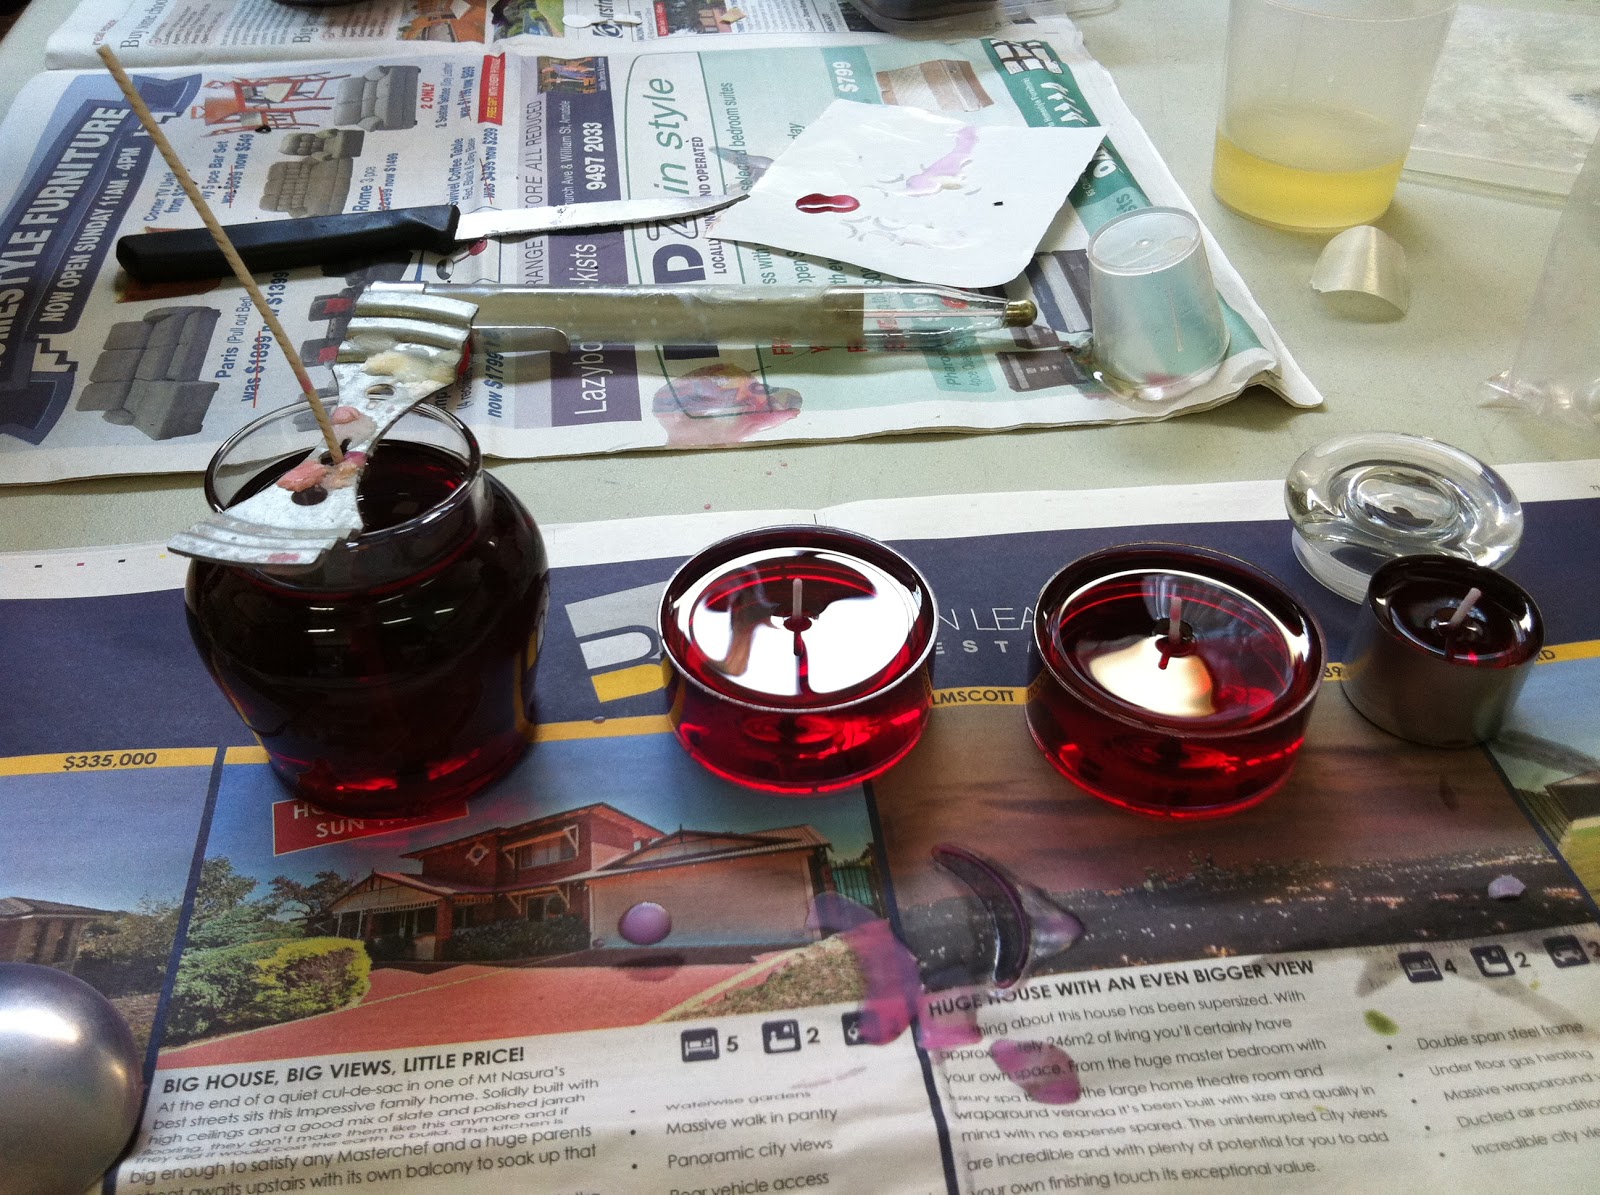
Linda's first candles (She had a bit of extra leftover wax and needed more containers!)

Phillipa shaving colour into her wax
The "second round" candle we made was a frosted square open topped jar. Linda went with a vibrant teal colour, and I think Egyptian Musk fragrance. Phillipa and I both used ultramarine solid colour, with Phillipa going with Grapefruit & Lime fragrance while I went with Sweet Orange essential oil. Funnily enough, all three of us had very similar coloured candles... completely unplanned I might add!
Waiting for my last lot of wax to melt, jar & essential oils prepped.
Some of the other girls (including Linda & Tracey) arranged to purchase supplies to take home so that they could reinforce what they'd learnt at the workshop, but I opted to make another candle at the workshop because we had some extra time. I used the rest of my "Peace" blend, topped up with some Sweet Orange essential oil, but no colour in a gorgeous square lidded jar.
Linda's completed candles

Phillipa's completed candles

My completed candles (minus one maxi light that I gave to Kym)

 As a special thank you for minding the kids I gave Kym one of the maxi lights I made. Overall, we had a great time.. so much so that we're thinking of getting Kylie to bring some supplies up to playgroup before the school holidays so that we can have a holiday playdate to make some more candles as Christmas presents (and some for us, of course!).

And as an added bonus, the soy wax candles made our hands, the car and our houses smell lovely! Now I just need to arrange a romantic, candle lit dinner with my husband as an excuse to light one.


Saturday 10 September 2011

Weekly Stitch 'n Bitch

Almost every Tuesday the girls and I catch up for a pre-Playgroup stitch 'n' bitch. We all bring along whatever project we're working on, chat, drink tea (or cappucinos from Phillipa's coffee machine), eat and talk. There's usually a lot of eating and talking.
First things first, scones in the oven!
Last week Phillipa treated us to our favourite scone recipe with the added goodness of sultanas. I can't begin to describe how much I love fruit scones - I don't know why I always forget to add the sultanas when I make them because I ALWAYS have some in my pantry! While they were cooking we all took turns with the whisk to whip the cream.. my arm was aching, which clearly demonstrates how lazy I've become with all my fancy modern technological contraptions!

The scones were served with this delightful strawberry & rhubarb jam that was all syrupy and perfect for scones as well as the cream (which we did a mighty fine job of whipping - yay for team work!).

Phillipa in her gorgeous Emmeline apron
 I had to snap a picture of Phillipa in her gorgeous reversible apron that she made using the very popular Emmeline pattern. One day soon I'll get around to making an apron for myself.. I even went so far as to buy my fabric (which Blossom & Bean liked so much they've demanded aprons of their own!) but I was still hunting for the perfect pattern. I like the Emmeline pattern, but sadly I'm rather generous in the decolletage area and I'd need to modify the pattern to fit. As it happens I found a pattern that I think will suit, followed promptly by some more fabric that I adored, so now I will have to make 2 aprons (ok, make that 4 once you add in the kids).
Don't you love seeing things you've made being used?
 Then it was time to go and take happy snaps of things around Phillipa's house. Like the tea cosy that I made for her (her choice of fabrics - aren't they gorgeous?). There's this special feeling that you get when you see people using something that you've made, isn't there? And then I decided that we should showcase some of Phillipa's talent.. while most of my projects are still in the planning/have purchased fabric stage, Phillipa actually gets hers finished!
A top for Little Miss J
 There's a pretty top for Miss J, whose favourite colour is orange. I believe that Phillipa has also purchased some fabric to make another top in this design for her eldest daughter, Miss E.
A nightie for Miss H or Miss J
 Then there was the adorable summer nightie that I think is for Miss J, but might be for Miss H. I'm not sure that I could put Blossom in a white nightie, she's too grubby.. but I do love the idea of a traditional white cotton nightie... so clean and so cool.
A dress for Miss H
 And last but not least (and really, not last.. just for today) the gorgeous apple print dress that Phillipa made for Miss H. She will look adorable in those bold colours! But then again, Phillipa's girls are always adorable.
I can see a Kookaburra! 
And don't think I forgot about the actual stitching and bitching part. Belinda is working on a cross stitch project that she rediscovered after 20 odd years in storage. Over the last couple of months it has really started to take shape and I am confident that it will not be another 20 years before we see this project completed!
Cutting fabric for pillows
Phillipa's project of the day was cutting fabric panels in order to make some pillows and a wall hanging for Miss J's bedroom. I anticipate that by next week's stitch 'n' bitch she will probably have finished the pillows!

Kym was working on a camoflage lens cover for her father-in-law to use while taking photos of birds (so as not to scare them), but she refused to be photographed after she saw the photos from the pasta making post! I'll get you next time, my pretty!

And once I stopped happy snapping I sat down to do some more work on my green crocheted poncho that I was planning to wear to WICKED!

While that was the sum of our stitch 'n' bitch outing, Belinda, Phillipa and I also had a little outing to our local Spotlight store on Friday, where we managed to find more fabric to add to our future projects list. Oh happy day!